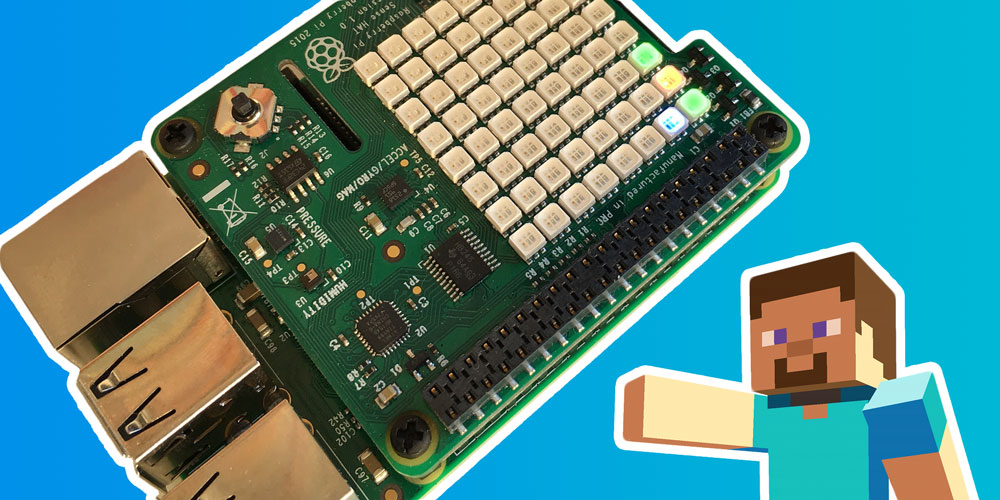
LED Minecraft Server Status Dashboard with Raspberry Pi
Use a Raspberry Pi with a Sense HAT to show Minecraft server status, including whether the server is up or down and how many people are playing.

We run a bunch of Minecraft servers for our kids, cousins, nieces, and nephews. It's great except for one thing: with this many places to play, how do you know when someone is online to play with? Like most nerds we own a Raspberry Pi 3 and don't know what to use it for, maybe we could solve the problem of too many servers by using yet another computer. With the addition of a grid of LEDs on something called a Sense HAT, it seemed like we might have a solution. Here is what we decided to try and build:

Getting the Server Status
The main servers we wanted to show status for are Minecraft Realms servers. They have a pretty nice API available with an endpoint that seemed to have everything we need. So we could log in, get a list of realms we have access to, and then see who is playing on what server. However, as with every API the most complicated part is authentication (why why why). The list of complications included properly formatting auth headers, two different account names (mojang and minecraft username), UUIDs, and so on. You can skip all that junk and use our code (linked at the bottom). Once we got it all figured out, reading the JSON response to the /worlds endpoint was pretty simple and we started getting data for all our servers.
Unfortunately, it seems like the part of the API response where it tells you who's logged into the server is broken and always returns null, so we needed another option. After trying a bunch of different ideas, what we ended up doing was using the Realms API to get the server IP address then using the mcstatus library to query the list of players. One further problem was that the address of a Realms server changes surprisingly often, so we need to look up the server address every time we're going to query status. Remember those innocent times when this was going to be a super simple single API call? Oh well.
Putting It All Together
First, make sure you have your Sense HAT ready for development by following these instructions.
The code for our script is in this gist. Copy that into a file on your Pi and edit the first 3 lines after the imports to add your usernames and password. Now run the script with python realms.py. Hopefully you should see some lights on your Sense HAT!
To have the lights get updated automatically add the script to your cron tab by running crontab -e on your Pi, and adding a line to the bottom that looks like:
* * * * * python /home/pi/Desktop/realms.py > /home/pi/Desktop/lastrun.txt 2>&1
You'll have to update the /home/pi/Desktop/ parts to point to where you saved the python script. This will run the script every minute and update the lights on the Sense HAT. Just put the Pi somewhere prominent and keep an eye out for blue lights!
Footnotes
I used an app called Postman to figure out how the APIs worked. This is the first time I've used an app like this but I highly recommend it. Made things go much faster, and even exported working Python code to use in the script. If you're on a Mac Paws has also been recommended to me.
A fairly nice way to edit files that live on the Pi is to connect from your Mac over SFTP with Cyberduck. Just open a file from the Cyberduck interface in your editor of choice and when you save it will copy it back over to the Pi for you.